I’ve been bra sewing again! I have a few other sewing projects that I really need to dedicate my time to, but I just couldn’t help myself!
I wanted to play around with the cup style, so I’ve added in a power-band, and I moved the cross seam up a little bit.

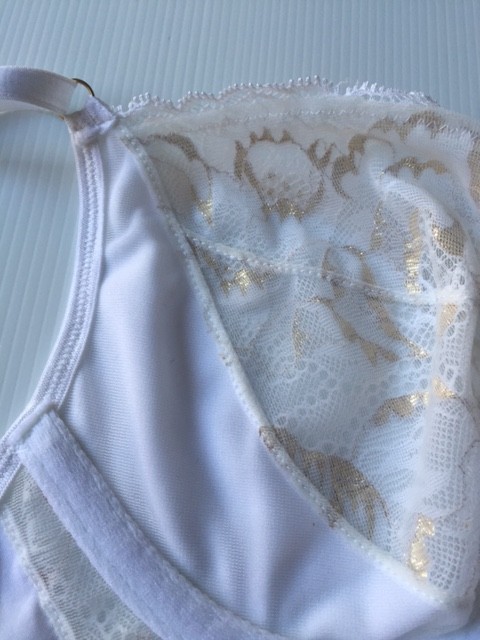
I cut the majority of the cup from a beautiful white and gold lace from Boobytraps. The power band is a medium weigh, white lycra.

I wanted a much lower cut style than my previous bra, so I took about 4cm out of the cups and bridge. Only after I did this, I realized that I didn’t have any under-wires to fit the lower style. I could have waited, and bought some, but I was being rather impatient, so I harvested a pair of wires from an old bra. I checked to make sure they weren’t bent out of shape, then I drew around them onto a piece of paper for future wire-buying.

To show how much I lowered the bridge, I put the white bra on top of the pink bra. It’s quite a dramatic difference!

The back is exactly the same design as my pink bra, and cut from the white lycra.
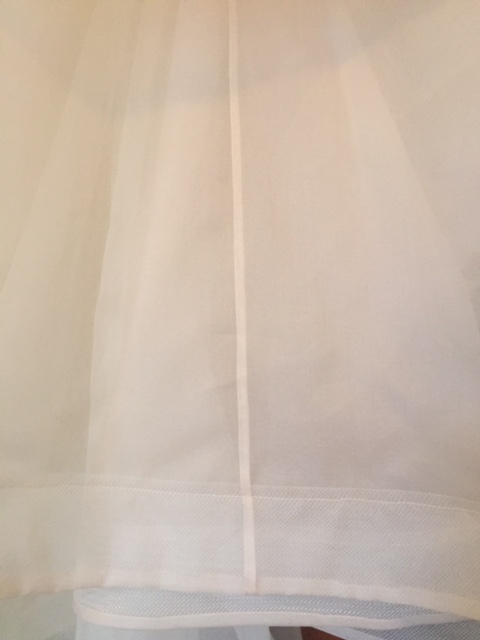
I lined the entire bra (except the back wing) with bra tule. I love how it encases all of the seams, it gives a very neat finish.
I wore this bra yesterday, so I could report on the comfort level. OMG it was SO ITCHY! How is that possible? It’s fully lines with the softest tule and it doesn’t have any raw seams!? The only thing I can think of, is that I’m rather sensitive, having worn padded bras every day for the last 15 years. Has this been a problem for anyone else? I hope to get used to it over time, because I’d hate to never wear this bra again, it’s so beautiful!
Let me know if you’ve experienced anything like this, and if you have any recommendation to increase the comfort.
Mitty x